Saturday 13 September 2014

Life, Life, life!

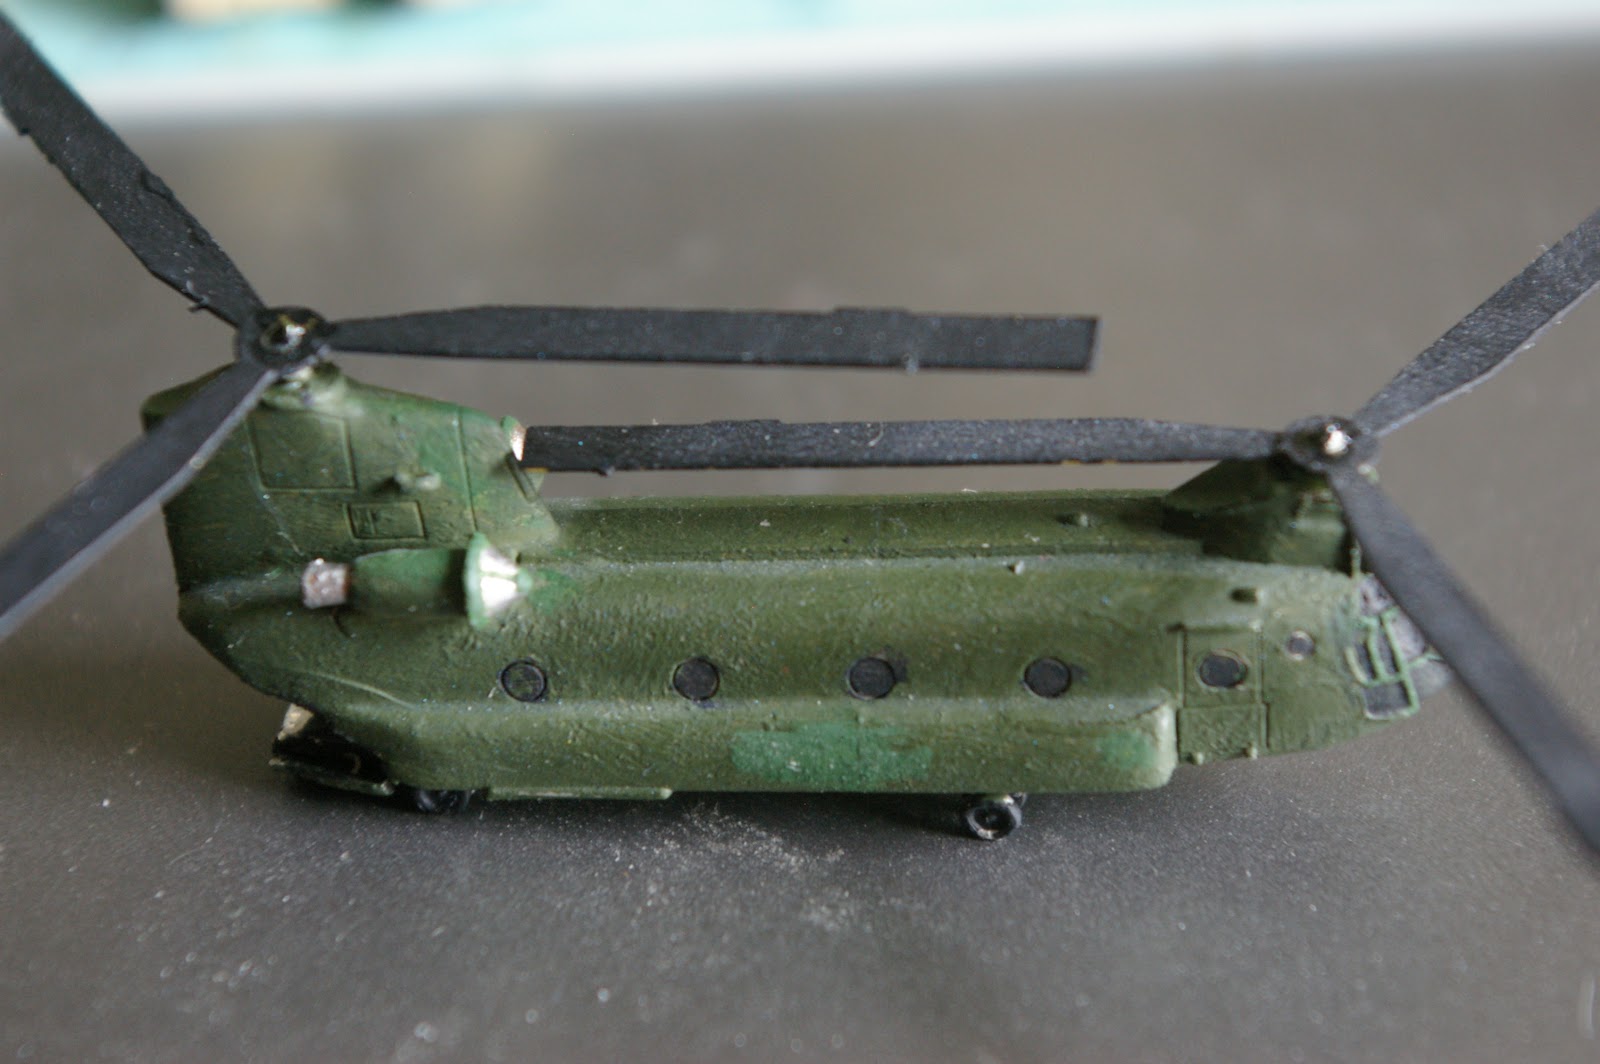
Well its been over a year and unsurprisingly this has been as a result of life! That old enemy kept getting in the way of me and my hobby. Changing jobs, and moving house can really throw a spanner in the works. But, that doesn't mean I haven't stopped working on my miniatures. If anything I've got more done over the past year and you can expect to see some fairly regular updates from me in the near future. So here's a little something to get us back in the swing of things...


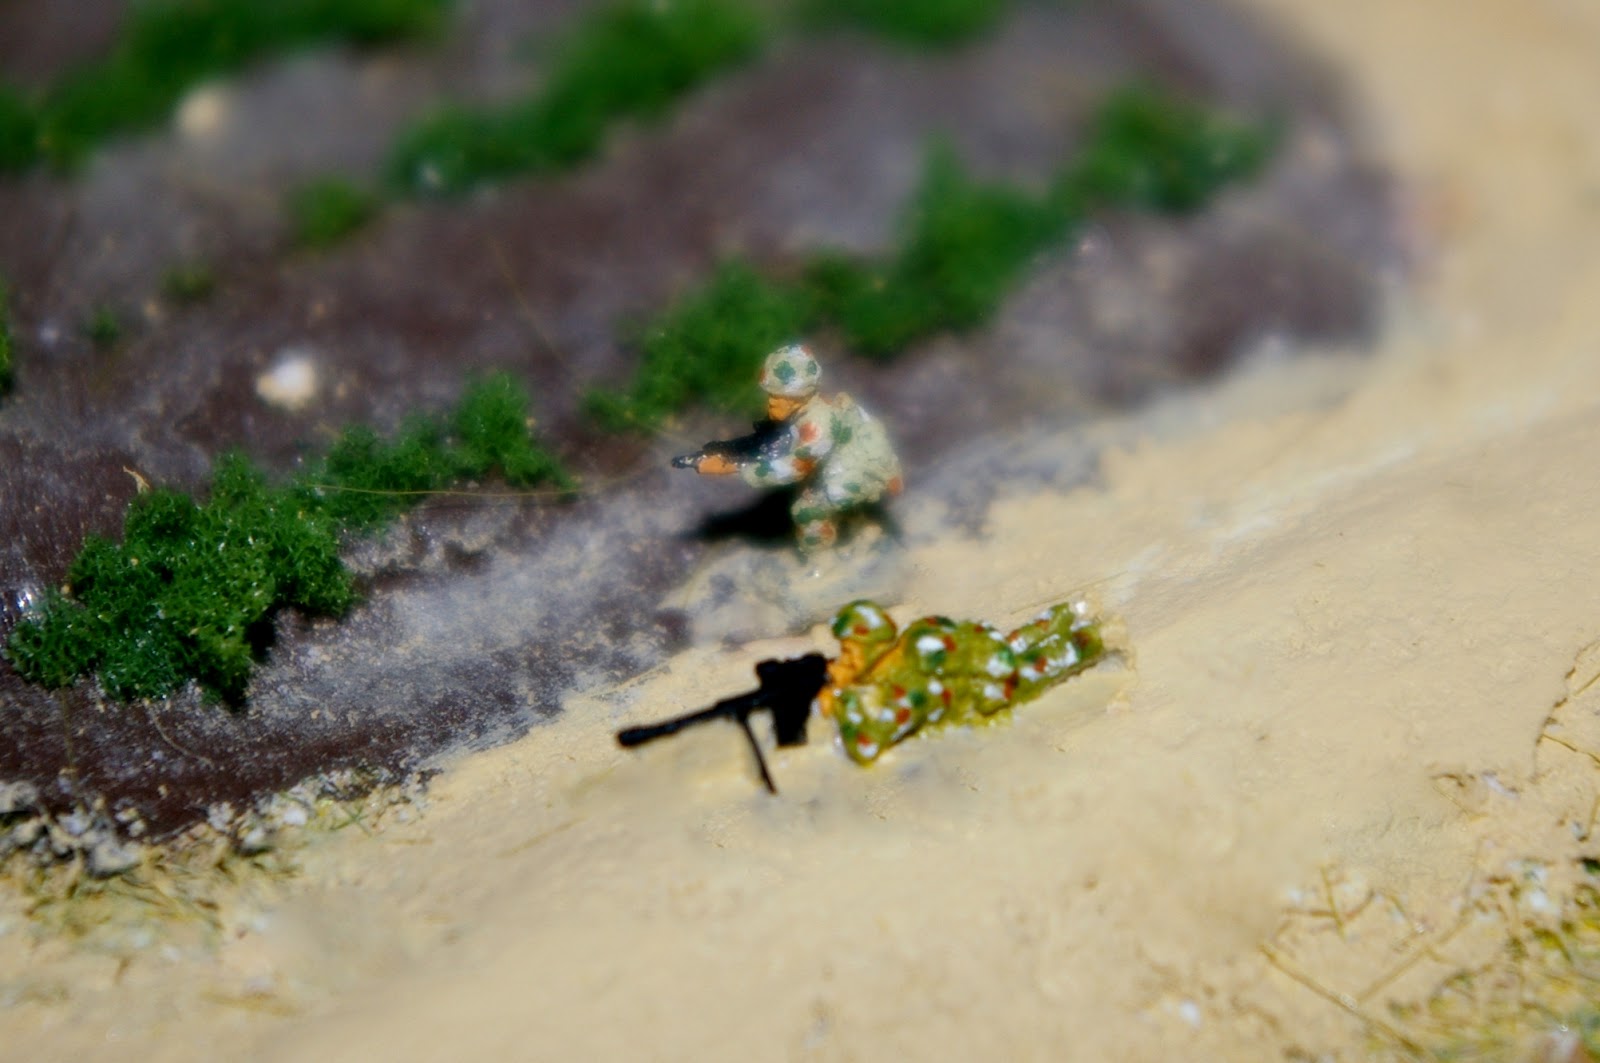
Well its been over a year and I'm sure those of you that have found me before are wondering what stage's are my scenery projects at. Now for those of you that are finding me for the first time, scenery generally comes in two forms. Massive expansive boards that are pretty heavy to move about and store or light weight small boards or even fabrics that are easy to pack away and transport. GHQ's terrain maker foam hex's are a great example of the small terrain boards, ideal for company level battles.
(Cough, cough... The Following may contain rambling)  
Is there are right or wrong answer? No. Ultimately you have to come up with a terrain system that works for you. What terrain system do I use? Well I've tried to get the best of both worlds by building terrain boards that are rigid but they are relatively small. My first terrain bored was an experiment (As it should be) It's just a very large experiment. If I could do it all again I would've started with  a board of about 30cm by 30xm. So there's a nugget of wisdom if your just getting started. 

Enough with the talk show me the dam pictures already! So last time off I showed you my new terrain board which at the time I thought looked pretty good. And this illusion persisted until halfway through my first battle. When I realised that in no small part it sucked. I suppose you could compare it to a super model in some ways, great to look at but as soon as they open there mouth and make noise the illusion is broken. So I decided to do a little re-work and here is the end result.
 So I thought that the board would benefit From a few more choke points.
 I used Vallejo Transparent Water Texture
 Here is a little water processing plant that still needs a little work 
  
And here's a little mountain path that I made out of filler.
Here's a few pictures of the construction:
                                        
I cut up some picture framing card and painted out the reservoir area 
     
Work on the overpass section
 I've also been working with Tamiya textured paints.

That's all for now folks. Just a small post to get me back in the swing of things. Hoped you picked up a thing or two or maybe you got some inspiration. I promise, more miniature related updates to come!
Thanks, 6mmWargamer

Monday 1 July 2013

Just a tiny update!

Well its been a few months since I've had an opportunity to get some solid work done on the modelling front! Alas, I have returned with news on a few little projects that I have been working on! 

Well to kick things off! Here's a project that I've been dreaming up over the past few years. It may not look like it but its designing and building my own custom 'city scape'. Although it looks rather small at the moment I wanted to start small, work out the kinks and hone my skills. All rather trial and error at this stage but I like to live by the Seven P's, Proper Prier Preparations Prevent Piss Poor Performances! So, without further ado here's a picture showing the early designing phase of my city. 

The two M1's that I used to help figure out the correct scale of the buildings. More significantly, notice the 'seawall' that took a hell of a lot of ballast to build!  

 Early phase buildings, not even glued together. Here I have a two and three story buildings. I decided to use mounting card as a friend had a truck load left over from his picture framing business! 

Here's my first acceptable building. I've added a little air con unit on top, I must have salvaged it from an old Airfix kit! Little shout out to Allen Rockwell of Game Craft Miniatures, thanks for recommending the tacky glue, works a treat when joining the card. There's a link to his website on the right hand side of the page! Furthermore, as well as his superb line of buildings and miniatures I would like to recommend his YouTube page, which serves as a great source of expertise and inspiration! Hoofing! A little side note, wondering if we could get Game Craft Miniatures supplied to UK stores such as War games Emporium or Magister Militum, just saying GHQ and CinC do it, hope you get that message Mr. Rockwell! 

THe building on the right has a base layer on and is ready for some details to be painted on. Hopefully later on I'll be able to cut out windows and doorways! 

Here I've started the laborious of re-sculpting the fields and surrounding areas!

I've decided not to go to over board with the flock this time! But let me know which affect you prefer! 

Here's  a little concept I've been working on. The FRES fleet of vehicles which will probably be in service by the end of the decade with the British military. If your interested give a quick google search and get back to me with some possible improvements! 


As you can see I'm planning on using the FV 432 Bulldog as the 'bases' for the model! That ERA makes this model undoubtedly one of my favourites! 
 A little close up of some GHQ missiles!
HELP, need suggestions with what to do with this area of this part of the terrain bored! As you can see from the next few pictures, this area is raised! Any ideas would be welcomed!

 Here's the raised area in question, but as you can see, the area to the right is also looking slightly forlorn. Wondering if any of you guys had any thoughts. I've considered anything from a few simple fields, and army base or even a petroleum production facility! I suppose I can put all these onto different bits of car and have interchangeable bits of scenery! Still any other ideas would help the finished product!    

Here's a nice point to reflect upon. You can clearly see here the two distinctly different styles that I used to construct my terrain boards. On the left I used simple layers, which is great for creating raised flat areas. On the right I used a technique which is fast and effective, using scrunched up newspaper and plaster plaster cloth. Sure as hell makes it easier to create a flush finish! However, you can obviously tell which one is more recent! Nice to see I've learnt a thing or to!

Here's the only sniper I could find that GHQ make, its in the IDF Weapons Pack! Looks pretty distinctive! 

Here I've experimented with different base shades of camo. Which one do you think looks better? I think I might keep the pale green as the British MTP and the dark green as US Crye camo!  Even though theres not much difference in real life I think in the war gaming environment it makes it easier to distinguish! Thoughts people, I demand your thoughts! 


Really need to get better at painting flags!! I've got the decals but where's the fun in that!

To finish off, a massive thank you the person who recommended this read! Absolutely riveting in its insight and detail. My hypothetical "International MEU" will be plausible. Think it might be allergic to my RM trophy tanker, but what can I say, I'm British and an aspiring Royal Marine!

Friday 4 January 2013

A productive Christmas!

I've tried experimenting with a few different painting options. Such as flags on top of the vehicles.
Only problem is I cant use the M1's for any other nation other then the US. 
 Chinese tanks ambush the advancing M1's
I need some feedback on this camo scheme. I know the flash doesn't really compliment the paint scheme but flick through all the pic's before making any solid conclusions. 


 Four years of 1/300 war gaming 
 Heres my 1/350 USS Wasp 
 I hope you realise just how much effort goes into a project like this!
 Finally, would love to hear some feedback on the 'water' with regard to realism. Any pointers would be greatly appreciated. 
Hope you all had a productive Christmas. I wish all of you the best for the new year. 


Wednesday 5 December 2012

Apologies to one and all!

Such is the life of a University student has meant that I have had little time to update my blog.
Sorry, if you've emailed me questions or comments, I've had some internet/e-mail issues over the past few months. Alas, all shall be well soon. I'm currently living in Manchester (UK) during term time and am away from most of my models and equipment. Before you worry, I'm not wasting my time, I'm studying Military History, although whether I'm just making myself highly unemployable is another matter entirely! When i'm not at Uni I'm at a little place called Kineton near Birmingham. For those of you in the know there is a major ammo depot for the British Army and home to the Ammunition training for the Royal Logistic Corps (RLC). When I say Ammunition training it is in fact Bomb Disposal! 

Moving on! When I saw the latest H and R releases I couldn't contain my excitement because, it seems, my nagging of GHQ and Heroics and Ros has paid off. Finally the Jackal has been modelled! So without further ado here are the pic's! 
From Right to Left: RG-32, Coyote and Jackal 2!


 Im going to use the RG-32 as a Panther!


Finally My Afghanistan war gaming can begin! Ive also been grafting a set of rules for IED/Counter Insurgency Warfare! For which I have the perfect consultant, Father! Who has a lot to do with the training of bomb disposal officers and about ten years worth of experience of living in 'hot' zones such as Northern Ireland and Iraq! Soo turns out its gonna be a great xmas for all! Stay tuned!  

Wednesday 11 July 2012

What I've been up to!

I have spent a lot of time touching up my miniatures that I first attempted to paint.
Here is a GHQ Challenger 2, I even tried my hand at adding a decal.
I thought the strips would act as a unit ID
A CinC Leopard 2, with the 'ID sysetem'

I have also working on a new type of camo. for my British infantry company.  This was really rime 
consuming as all my infantry used to be in desert DPM, so I had to first strip all the paint off roughly a 100 infantry miniatures.

 The new type of camo. is called MTP and is even in use with some US units. If your wondering what the real thing looks like, just check the background of this blog.


 I think I really do need some feedback on this one. What do people think of the decal?
 This is the USS Wasp, currently a work in progress, but as you can see much more flight deck to play with then my other conversion that I attempted. Cant wait for those amphibious assaults!

 Ive also been making a few more terrain boards. On The terrain board toward the bottom of the pic. I used plaster cloth and newspaper for the hilly areas and I am planning to add a small town section for urban warfare.
 This tiny board is an attempt to create some more beach space for my amphibious assaults.  
 Here is a conversion of a WW2 landing craft into a modern LCVP MK.5
 Mastiff (Heroics and Ros)


This is a GHQ warrior converted for the turret upgrade which should be happening over the next few years.
Shame there isn't any reactive amour.

CinC M1A1 for my USMC company

This is a GHQ Chinook. I added a bit more detail to the engine cover.